2016 Project EFI
In a never ending search for better induction for my Kaase 598 I recently discovered FiTech. I have seen many successful EFI installs on Ford Big Blocks, but they have all been either limited to 600hp or very expensive. Until now. FiTech has introduced Throttle body style EFI that will support up to 1200hp at a very reasonable price. I am now all in, with a new air cleaner for about $1800.
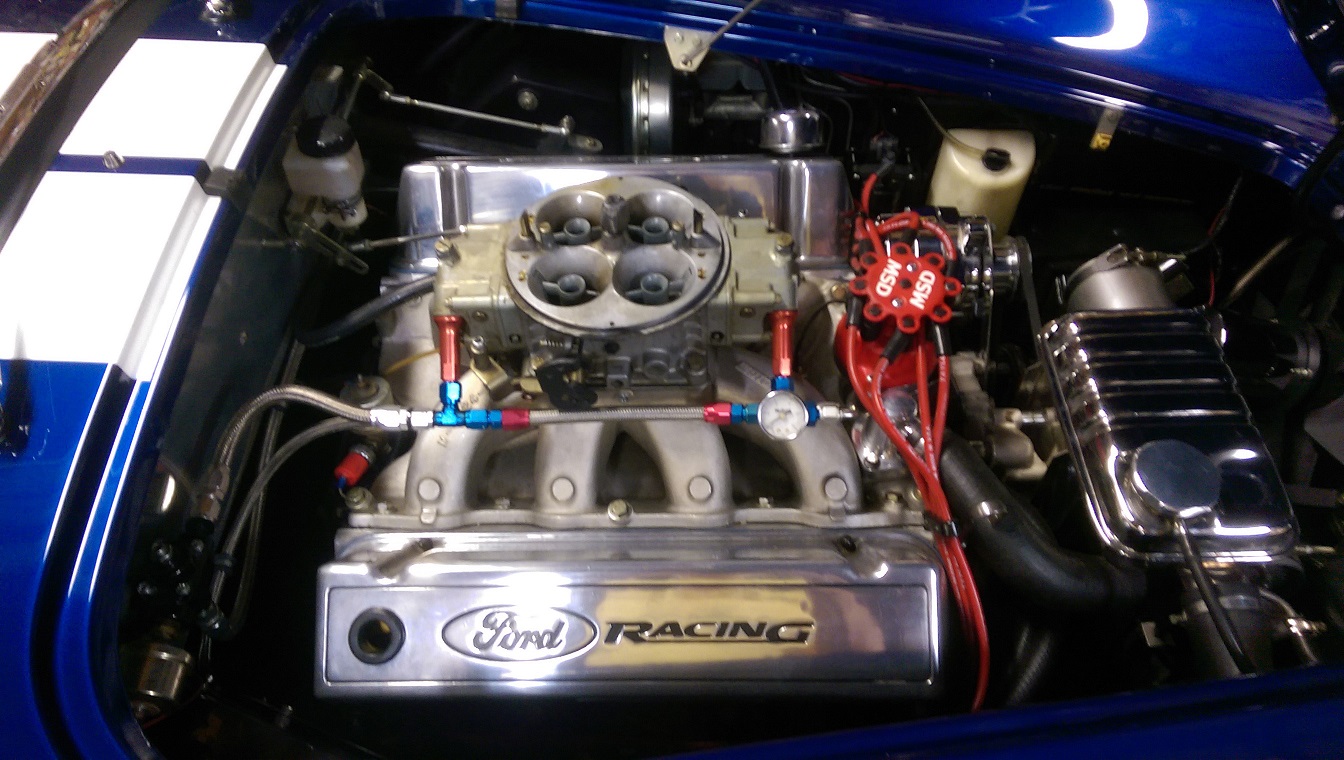
Throttle Body and Fuel Pump
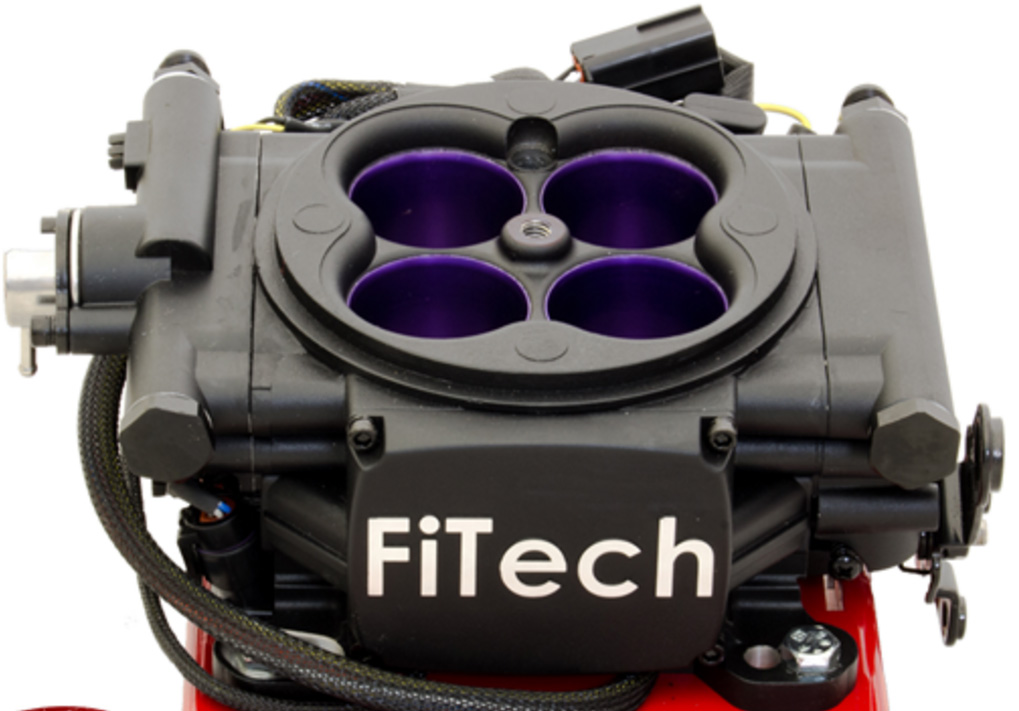
Throttle Body - Unlike many on the market today that house 4 injectors and support a maximum of 600HP, this throttle body houses 8 injectors and supports up to 1200HP. All electronics are inside the throttle body, so no external ECU is required and also because it is fed from it's own dedicated high pressure fuel pump, no return fuel line is required.
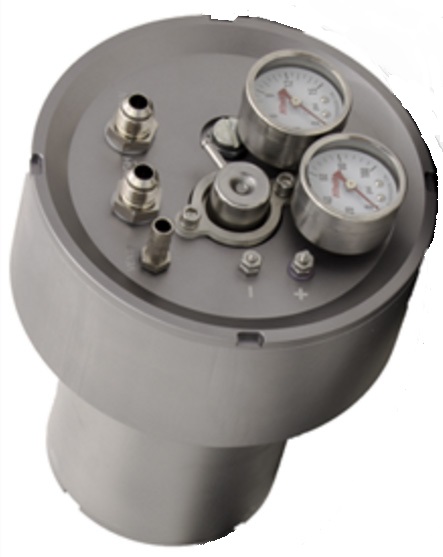
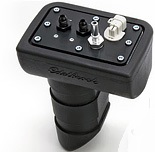
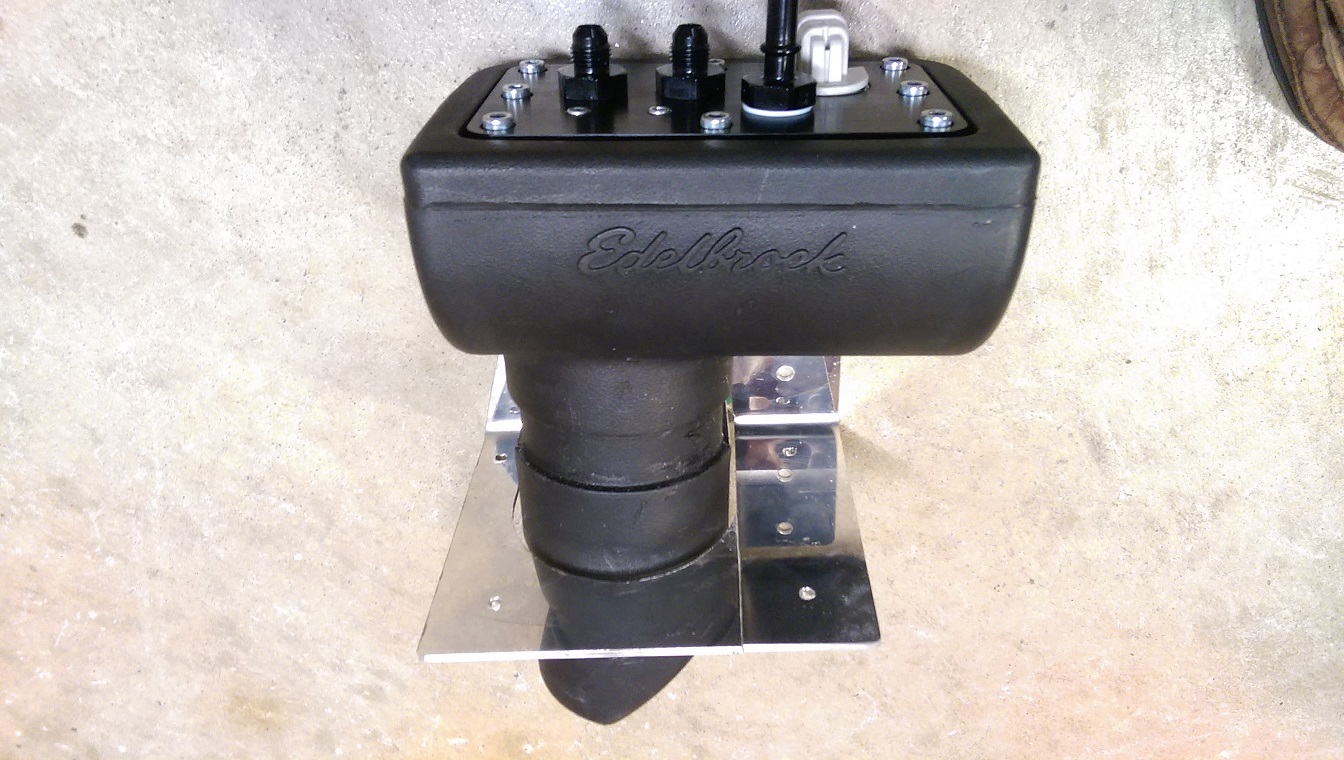
Fuel Pump - Center, above, is the FiTech fuel pump. This is the unit I intended to install, but because of production shortages and a long wait time, I elected to go with the Edelbrock pump on the right, above. The Edelbrock is more expensive ($600 vs. $400) and does not have built in pressure gauges, but it does hold more fuel (1/3 Gal vs. 1 Qt.), which may prove to be an advantage. You will see in the Pics below that I mounted the pump in the trunk, so the lack of gauges is not of any consequence. This pump is fed from the original low pressure carburetor pump. In my case, a Holly HP-125 that supplies 7psi
Before FFI with 1050 Dominator
This install included a return fuel line and pressure regulator. This was installed to attempt to overcome hot fuel handling issues, but with no return required for the new install, the engine compartment is now much cleaner.
Electrical
Early Superformance Mark III's (up to about car 1300) were wired with 18 gauge wire for the fuel pump. That was OK for a low draw fuel pump like the Carter "Hot Dog" pump that was a popular choice for the early cars, but as increasing HP required larger higher volume pumps, it became necessary to install a fuel pump relay so the pump could be fed with a minimum of 16 gauge wire. 1265 was already wired with a relay, but knowing I would now have two pumps, I fabricated and installed a two relay holder. The intent was that each pump would have its own relay, as shown below.

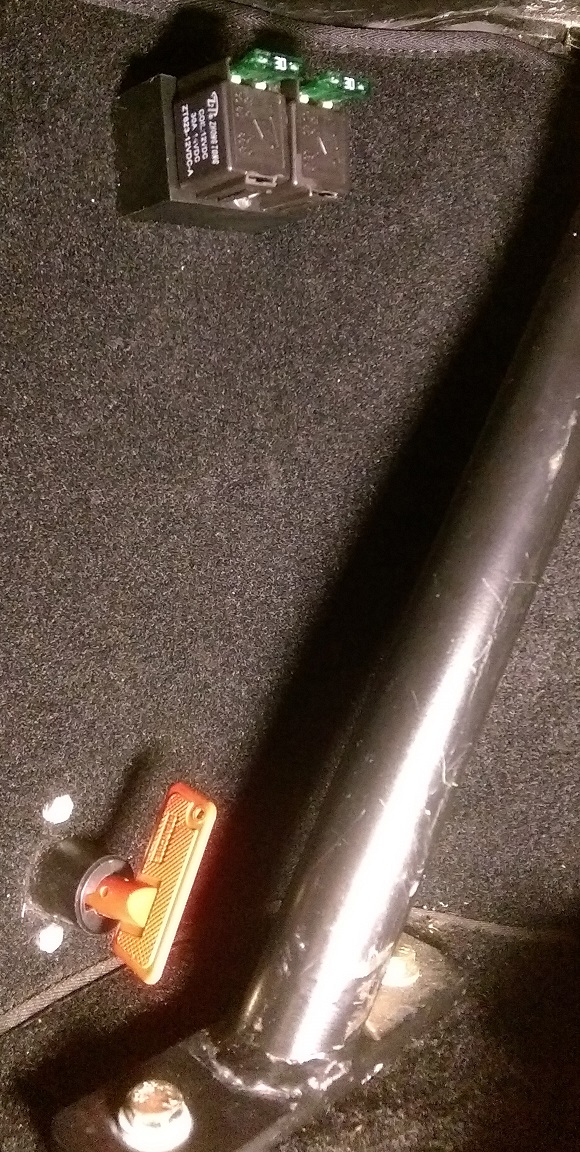
Socket, Fused Relay and fabricated Mounting Base. The sockets are pressed and glued into the base,
The assembly is mounted in the trunk and disconnects at the master power shut-off.
HOWEVER - I installed the new relays before I actually had the New EFI and before I understood how it worked. Turns out, the ECU manages the power output to the high pressure pump so that it does not need to work as hard when less fuel is required. Like at idle, cruising or decel. You can wire the high pressure pump through an external relay, but it will defeat this feature that is intended to extend the life of the pump. My second relay is now a "spare". It will come in handy if I ever install boom box speakers in the trunk.:-)
Fuel Pump Install
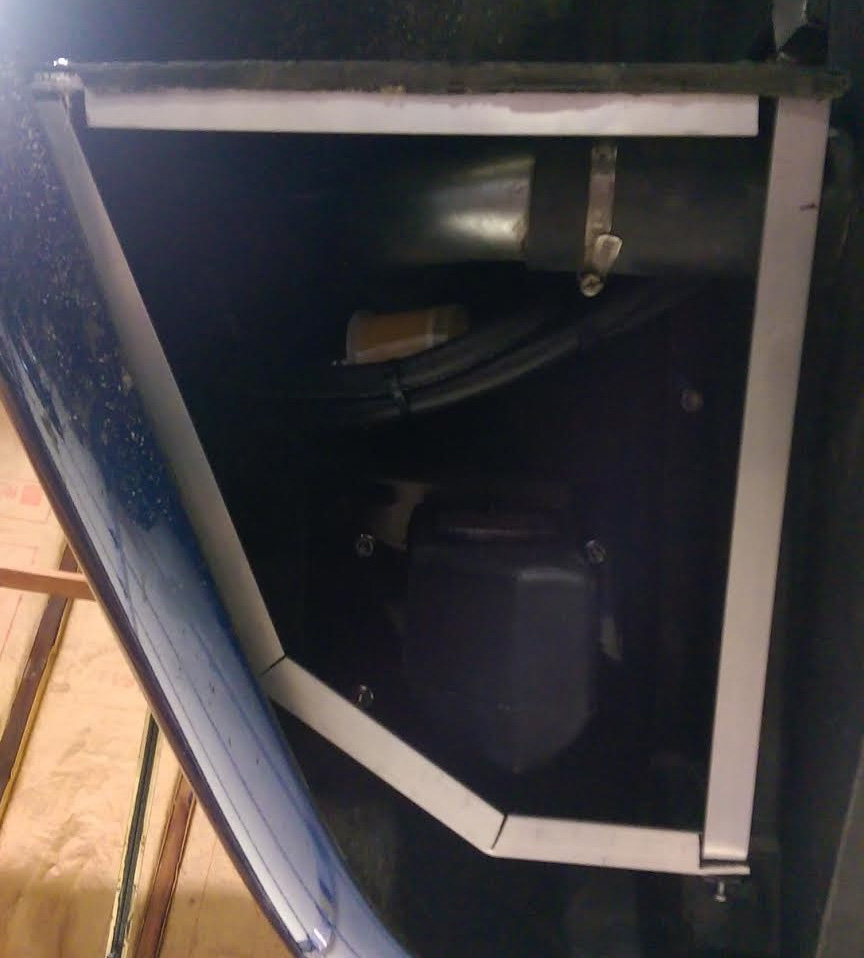
Installing and plumbing the fuel pumps was the biggest part of this project. The high pressure pump can mount any place you want. Most other installs that I looked at have the high pressure pump in the engine compartment. With heat, plumbing and space considerations of a Cobra, I felt the trunk may be a better choice. Specifically the space opposite the battery box.
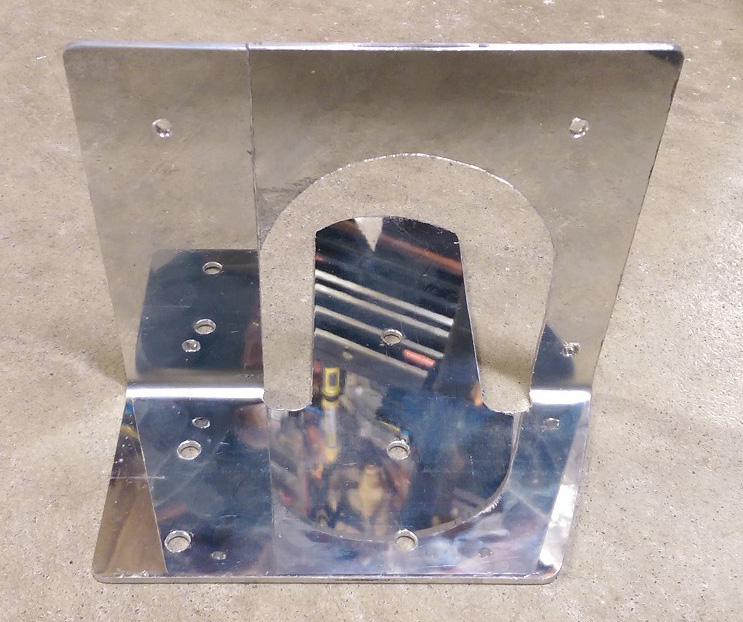
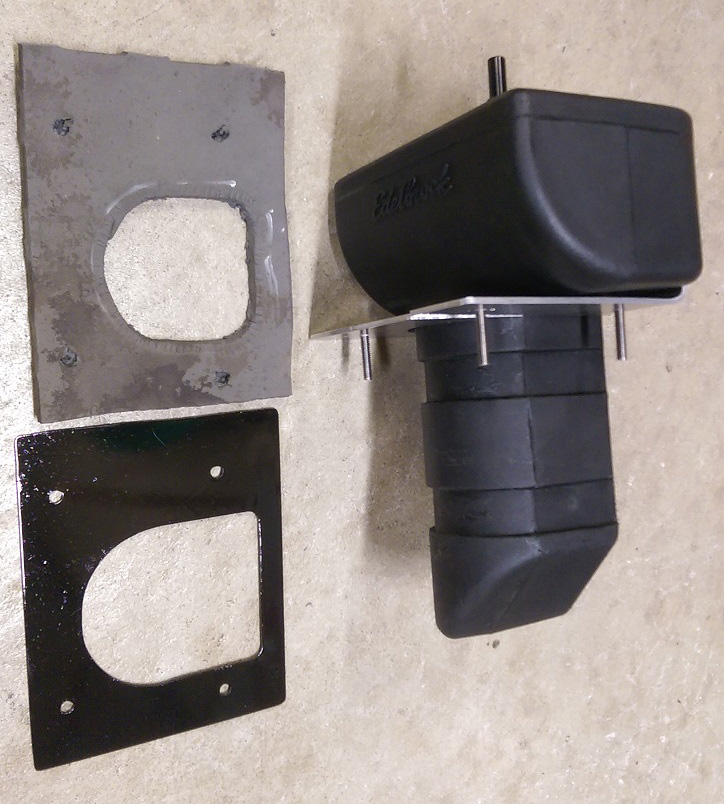
First, brackets needed to be made to mount the high pressure pump. Because this pump is too long to fit entirely under the floor of the trunk or entirely inside the trunk, I cut a hole in the trunk floor. The top of the pump will be inside the trunk and bottom under the floor. The gray piece in the right pic above is foam rubber that seals the opening that I cut in the trunk floor.
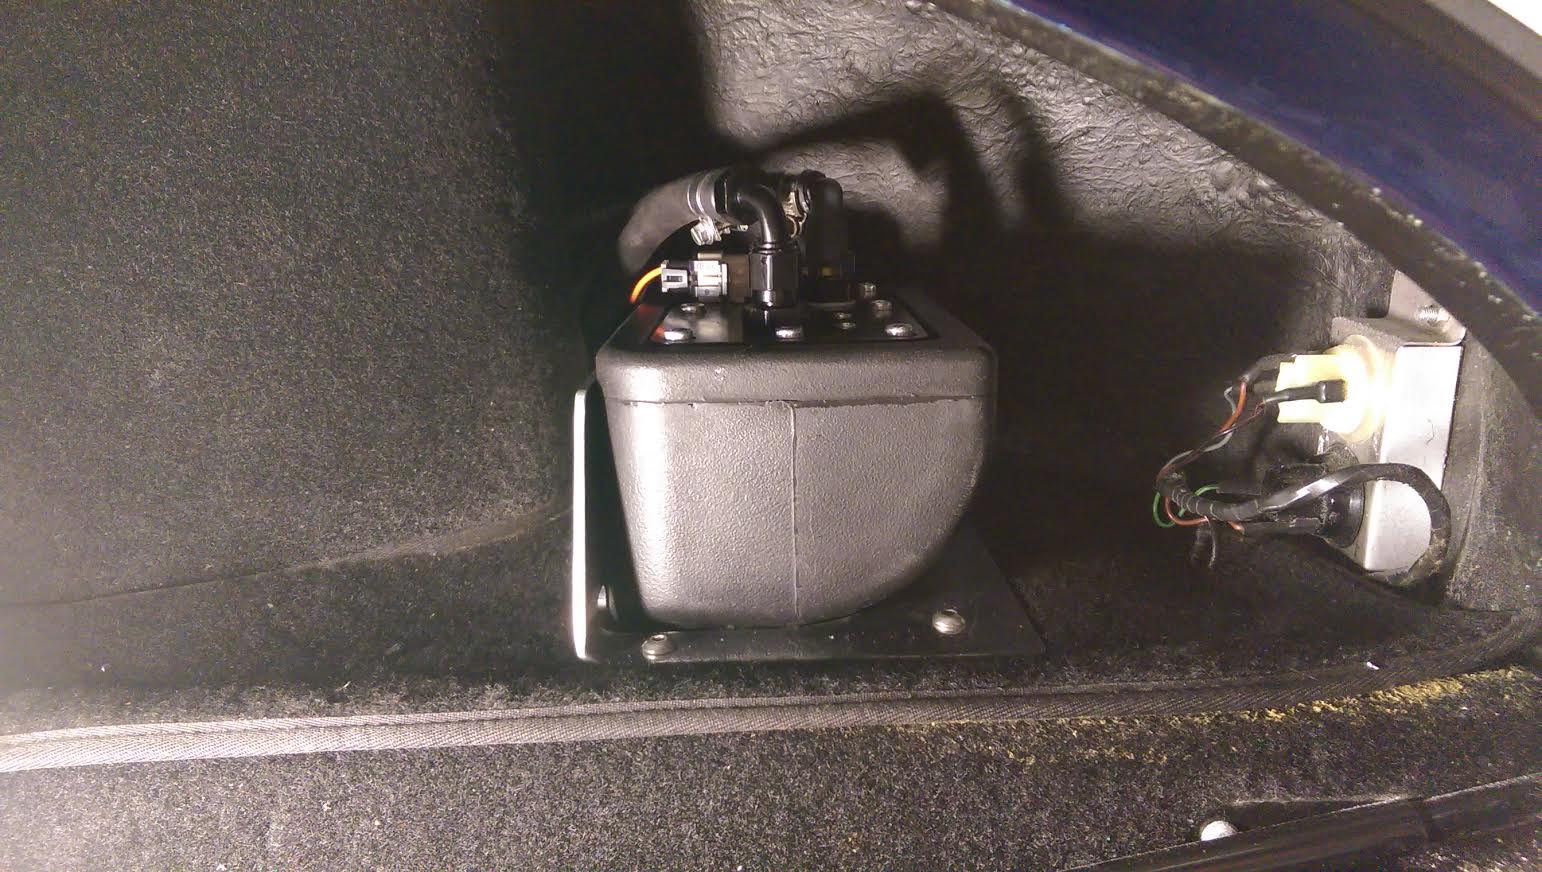
As you can see in this photo above, gauges on top of the pump housing would be pretty useless when mounted in this area.
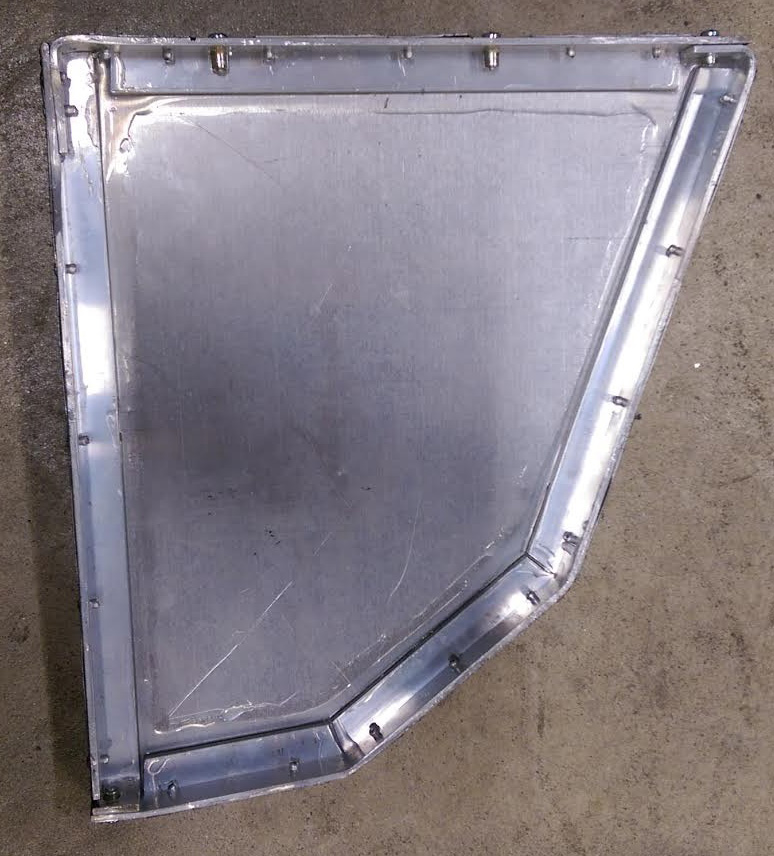
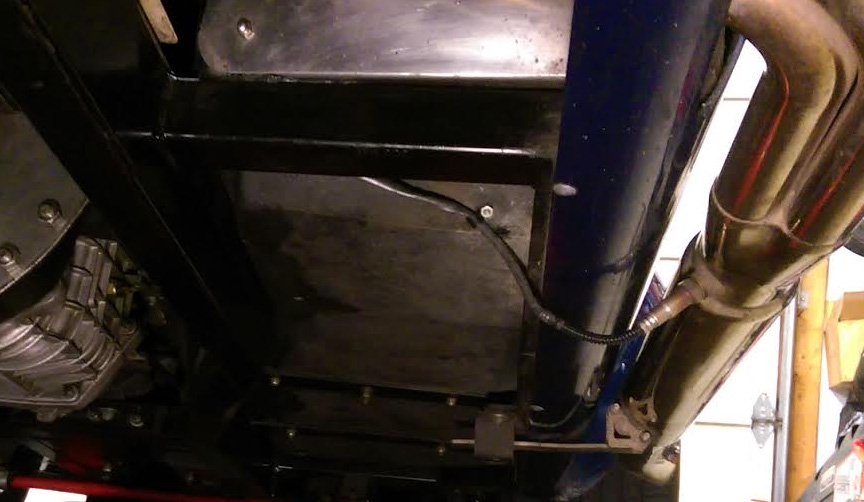
Trial fit of frame Tops side of Cover As seen from under the car
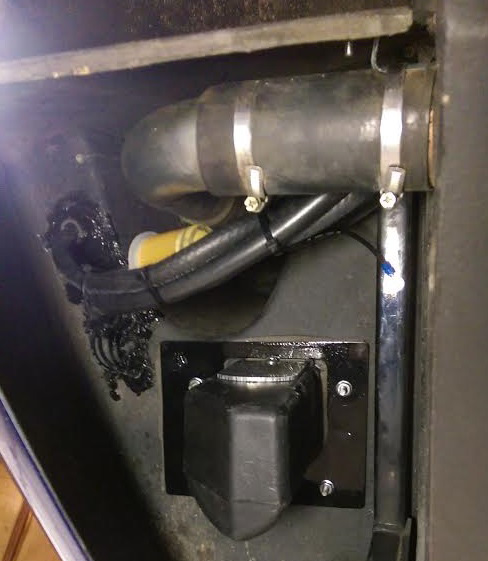
Because the pump is right behind the rear tire, I was concerned that stones coming off the tire could damage the pump housing or hoses over time, so I fabricated this cover and painted it with a heavy undercoating paint. I added the drain hose shown on the right to drain water that could collect on top of the cover.
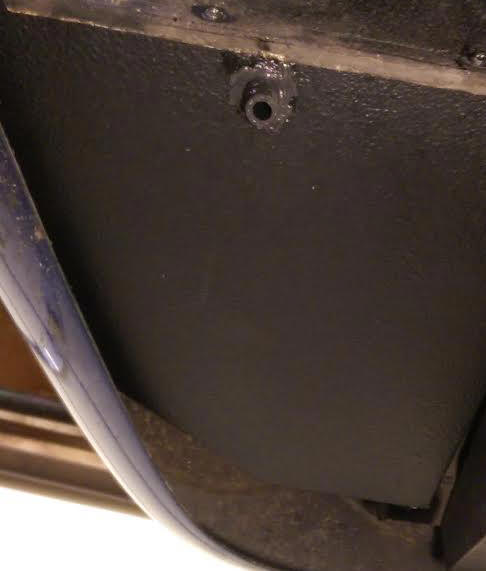
O2 Sensor Mounting
This is not a recommended orientation for an O2 Sensor. It is preferred that it is orientated at least 15 degrees above horizontal so that moisture will not settle on top of the business end and reduce its ability to read correctly. However, there is little choice on a car with side pipes and I have seen this mounting on many others, including those that Roush has built. It may be a good idea to carry a spare O2 Sensor.
The O2 sensor is the only part that came with the FiTech that did not fit. Trying to reach out to the side pipe the harness was about 6" too short. I called FiTech and they were able give me a Bosch Part number that is one foot longer. As it turned out, it was immediately available at my local O'Reilly's and at a pleasantly surprising price of $50.00 If you have ever gone O2 sensor shopping you know that they can go for a wide range of prices. Like $400.00
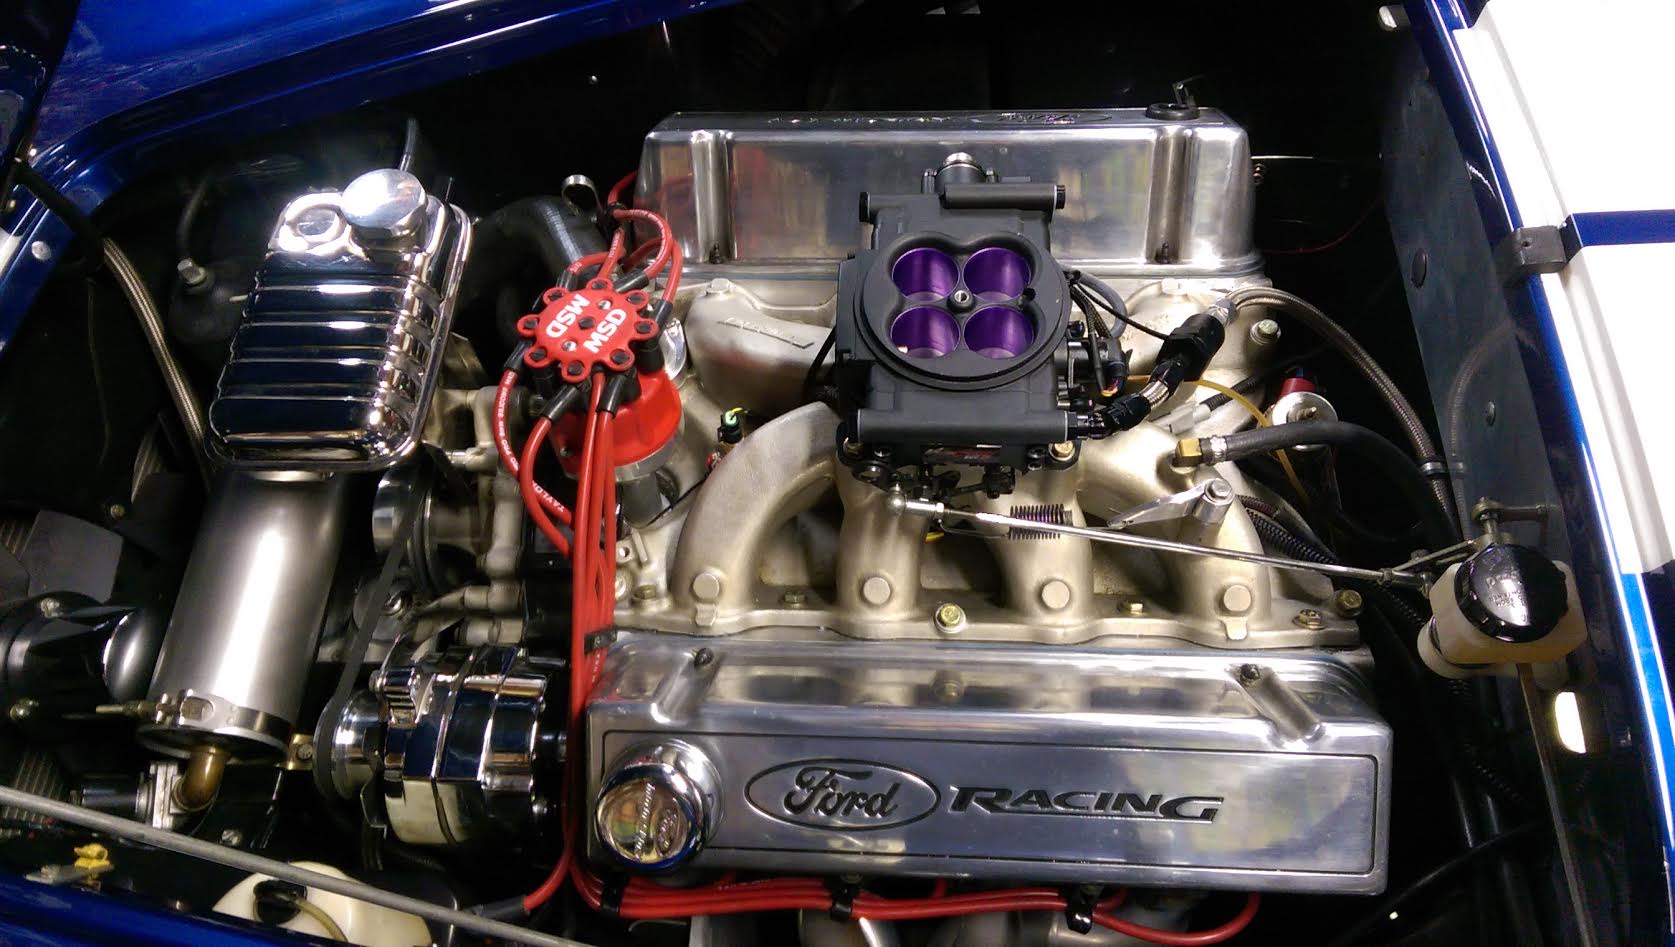
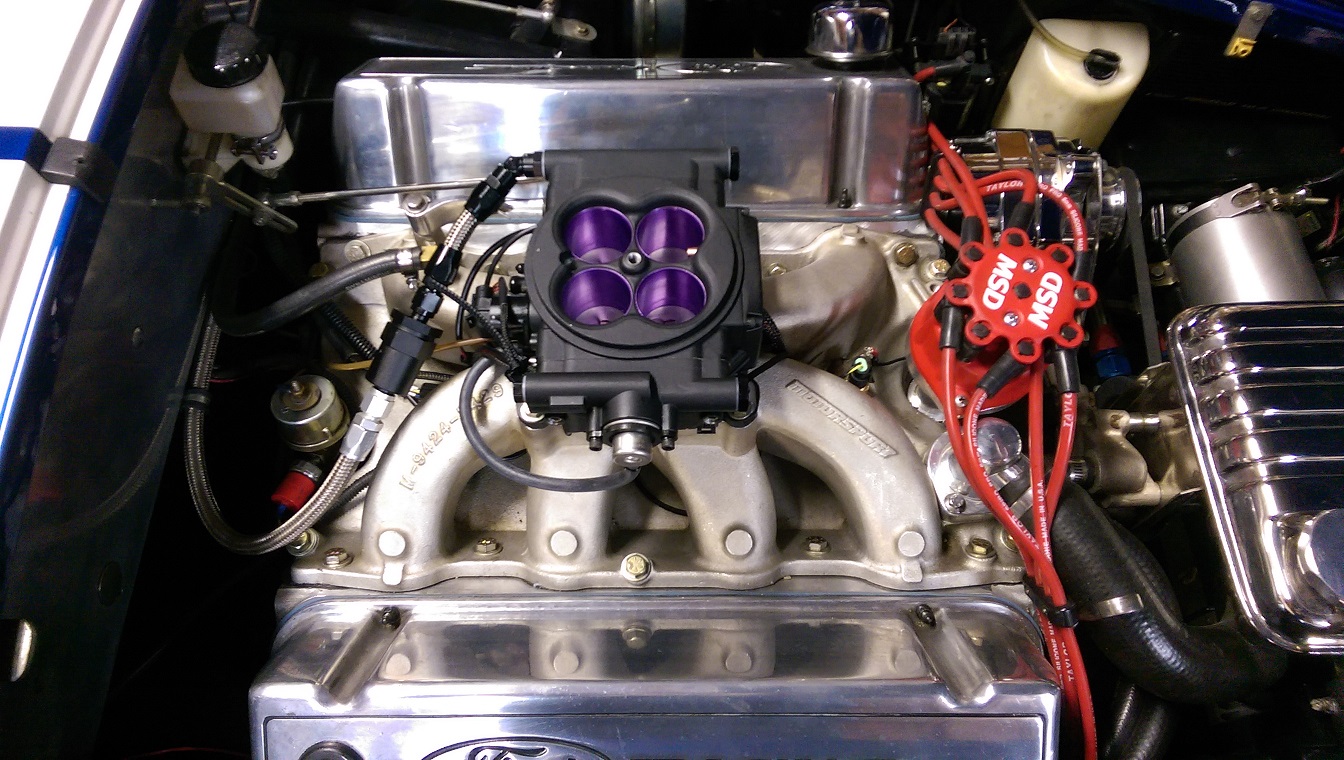
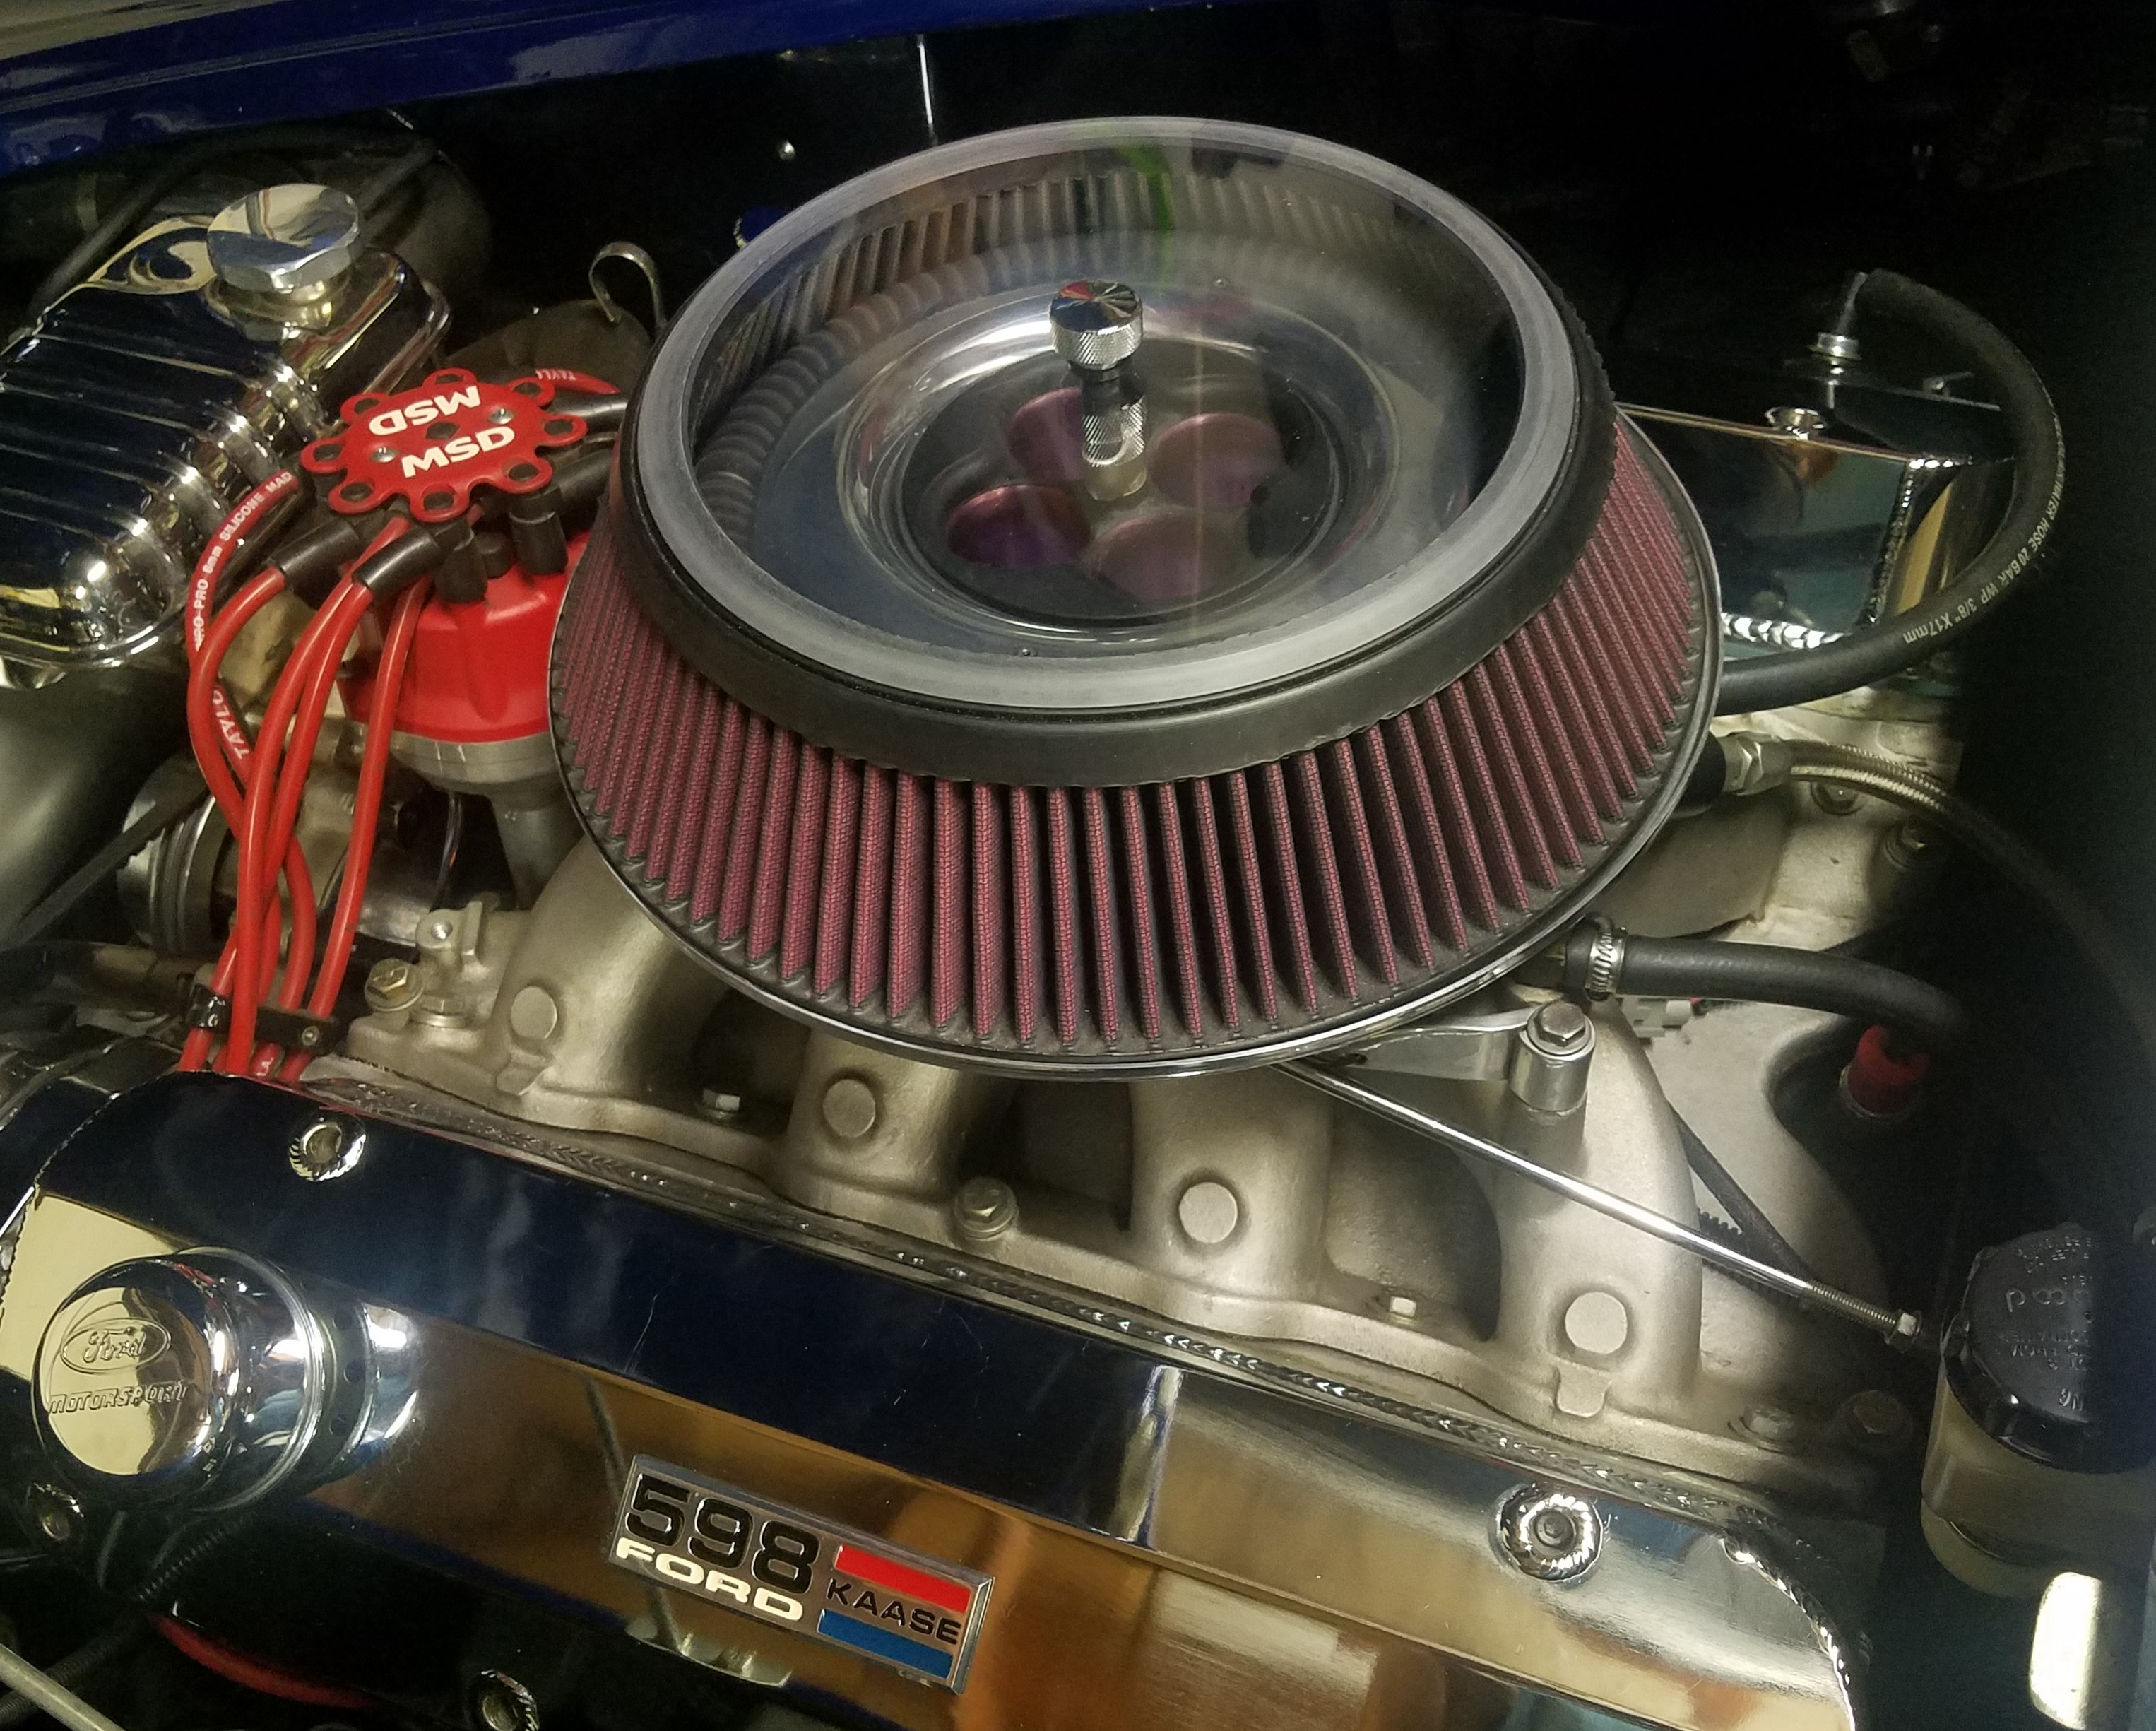
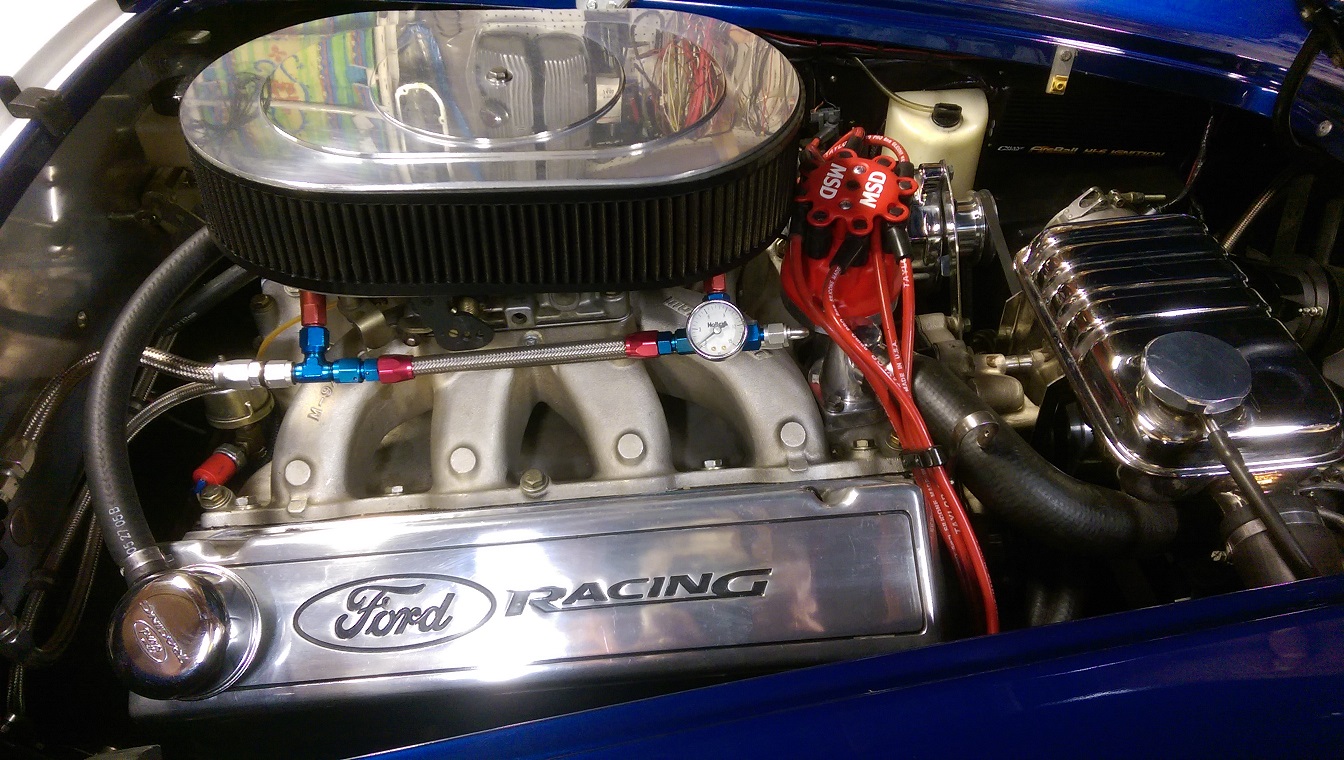
If you compare these Pics to those with the Dominator Carb, you can see there is much less hose under the hood. The Air Gap style manifold makes it nice to hide the many large harness connectors underneath.
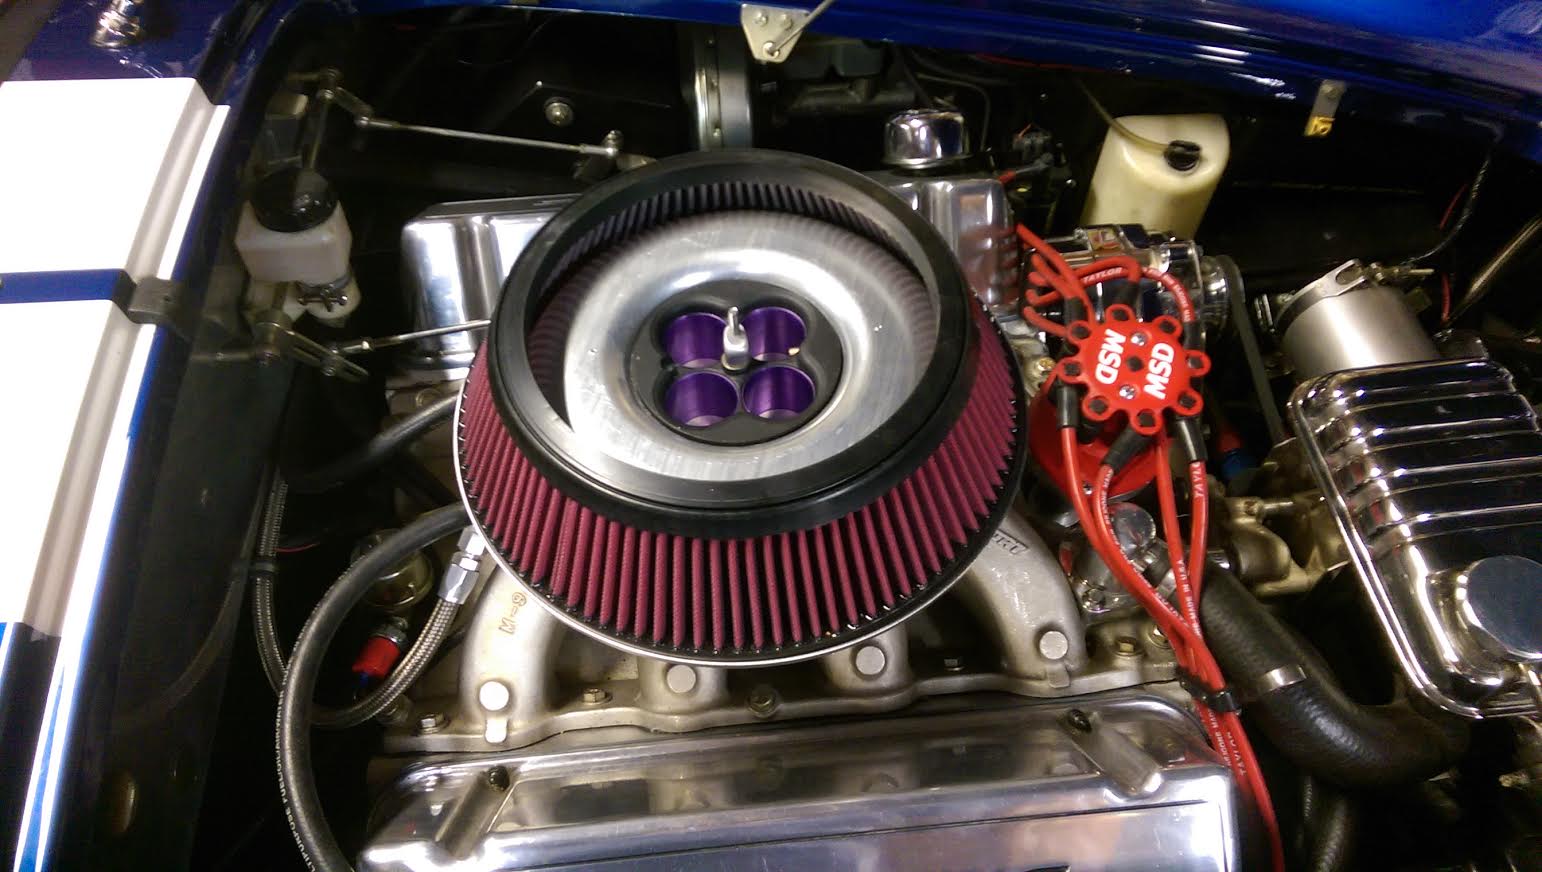
My Dominator air cleaner would not fit. Partially because the FiTech has the 4150 form and also because the top of the FiTech is too wide for the drop base to fit over, so I am working to make this filter fit. I like it because it has a lot of filter area and the top is narrow enough to fit into the scoop. The only challenge is that our engines do not mount on the centerline of the car, so this filter hits the hood on the right edge of the hood scoop. To clear the hood, I have cut down the air cleaner mounting ring as low as possible and I fabricated the mount offset that you can see in the left pic, which flexes the top of the filter left. It now fits, but with only about 1/16" clearance. I may be making more changes if it looks like it is rubbing on the hood. I can probably get another 1/4" by adjusting the motor mounts.
First Impressions
The first start was a bit rough, but once it warmed up, the self learning seemed to kick in and it wasn't long after that, that I went for my first trip around the block. Impressive! Not perfect, but even at this point I could see improvements over my Dominator. The only manual adjustment I have had to make was adjusting the Idle Air Control. This consists of turning the throttle plate adjusting screw so the plates are opened to the proper position for idle. I know I still have a lot of learning to do, but I now have about 20 mile on it and WOW! This really is cool! More to come
Update
This system was first installed in November of 2016. It's now November of 2018. With two years of experience and about 5000 miles I couldn't be happier. The only real tuning that has been done was through the systems self learning. If I have any complaint it is that I have to turn the key on twice when cold to give it two prime shots for it to start. There are adjustments to increase the prime shot, but I have not had any luck making adjustments. It's not a big deal given the benefits. No more trouble with hot fuel, no stumbles and no pumping the gas pedal during cold starts. It just runs.
My cold start issue may be related to a power issue. Fitech says you MUST have 10vdc min during cranking. My Cobra battery is in the trunk with 10' of 00 cable between the starter and battery. Recording the CPU monitor during start up, voltave drops to about 9.5vdc for just a second while the starter is turning. About the only solution I have not tried is to move the battery to the front of the car. An experiment is planned this winter.
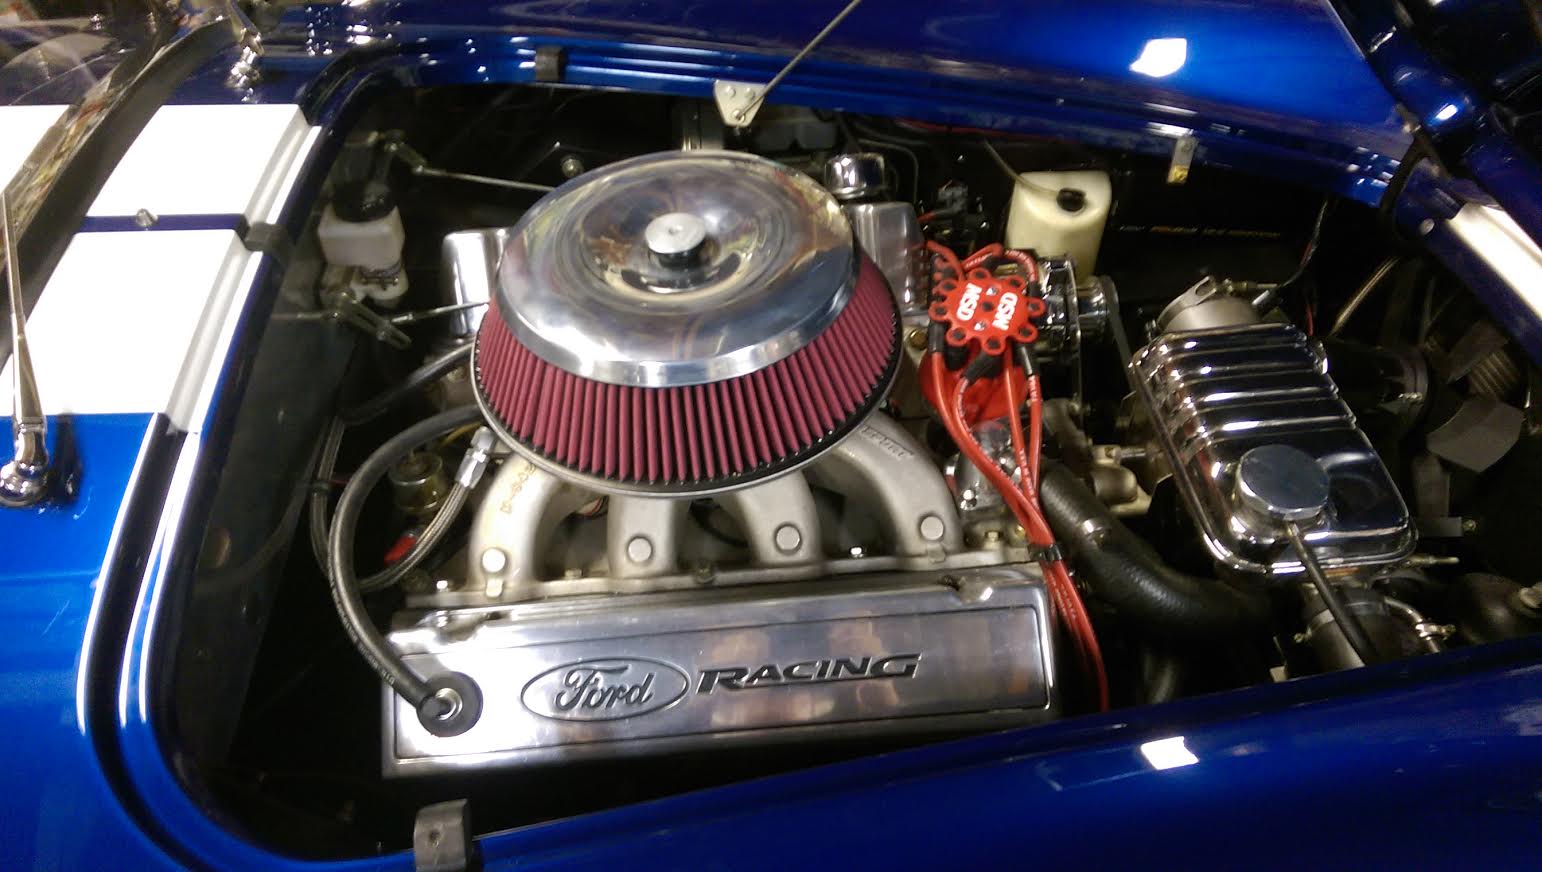
The photo below is current state with upgrades of a clear air cleaner top and new valve covers sporting 598 Kaase badges.
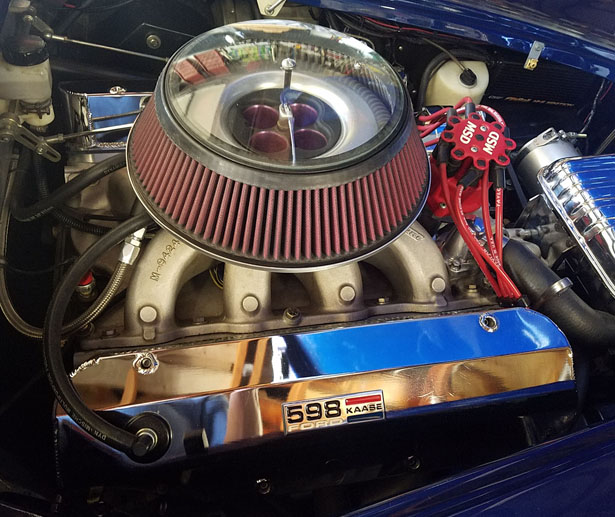
And another update
After watching a youtube of a glass pam lid shatter into a million pieces due to sevier temperature change, I decided Polycarbonate my be the better choice for an aircleaner lid